phpIPAMを使ってIPアドレス管理を始めたい僕の一歩目
Posted on 2017/07/17(Mon) 20:05 in technical
はじめに
サーバーの仮想化も進み、単に箱があればIPアドレスが1つと言うことも少なくなりました。
そのため、IPアドレスの割り当て管理を記憶やExcelシートに頼ることも負担になってきました。
IPアドレス管理のためのソフトウェアと言えばWikipediaにいくつか載っていますね。
出来ればDNSとの連携もしたいので、phpIPAMを選択してみました。
まずは単にIPアドレス払い出し帳簿として使えそうか見てみます。
インストール
phpIPAMは、言っても普通のLAMP構成。
CentOS 7.3 minimalに入れてみましょう。
手順のベースはこちら: https://phpipam.net/phpipam-installation-on-centos-7/
まずは基本パッケージを入れます。:
sudo yum update -y
sudo yum install -y httpd mariadb-server php php-cli php-gd php-common php-ldap php-pdo php-pear php-snmp php-xml php-mysql git
sudo yum install -y php-mbstring
sudo sed -i -e "s|;date.timezone =|date.timezone = Asia/Tokyo|" /etc/php.ini
httpdとmariadbを起動、DBの初期化。パスワードは適当に。:
sudo systemctl enable httpd
sudo systemctl start httpd
sudo systemctl enable mariadb
sudo systemctl start mariadb
mysql_secure_installation
Firewallの設定。:
sudo firewall-cmd --permanent --add-service=http
sudo firewall-cmd --permanent --add-service=https
sudo firewall-cmd --reload
gitからVersion 1.3を取得してくる。ついでにSELinuxの対応もしておく。:
sudo git clone -b 1.3 https://github.com/phpipam/phpipam.git /var/www/html/phpipam
sudo cp /var/www/html/phpipam/config.dist.php /var/www/html/phpipam/config.php
sudo sed -i -e "s/define('BASE.*/define('BASE', \"\/phpipam\/\");/" /var/www/html/phpipam/config.php
sudo chown apache:apache -R /var/www/html/phpipam
sudo restorecon -RFv /var/www/html/phpipam
WebUIにアクセスして、phpipamの初回インストール画面へ行けるようになります。
http://<ip-address>/phpipam/
画面操作
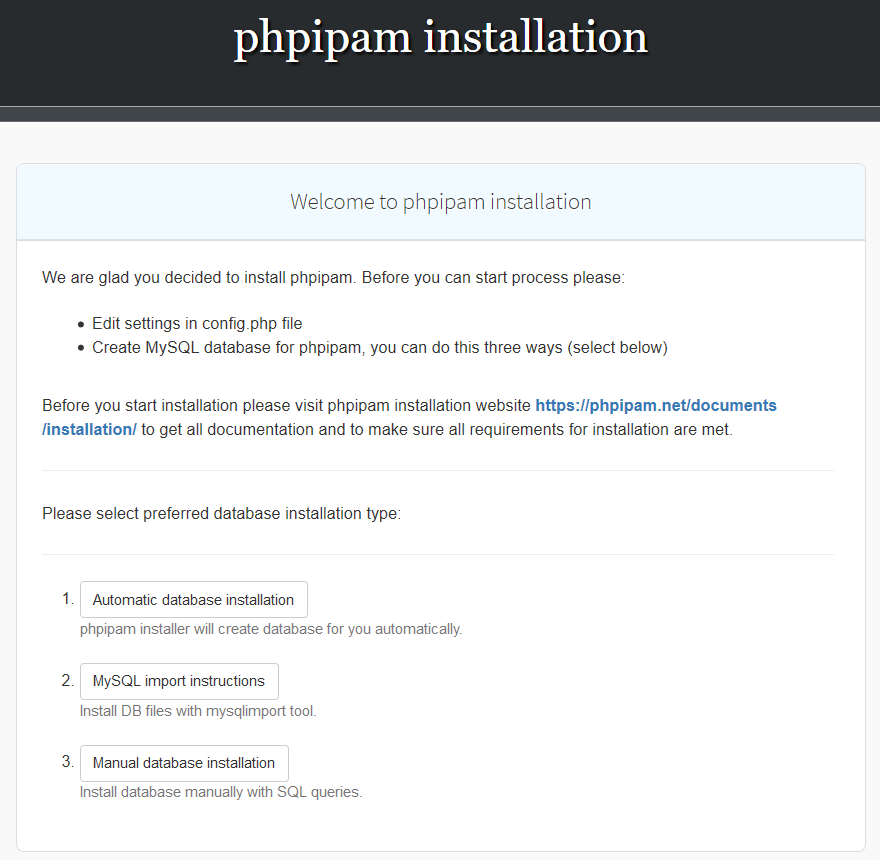
インストール画面
"1. New phpipam installation" を選択。

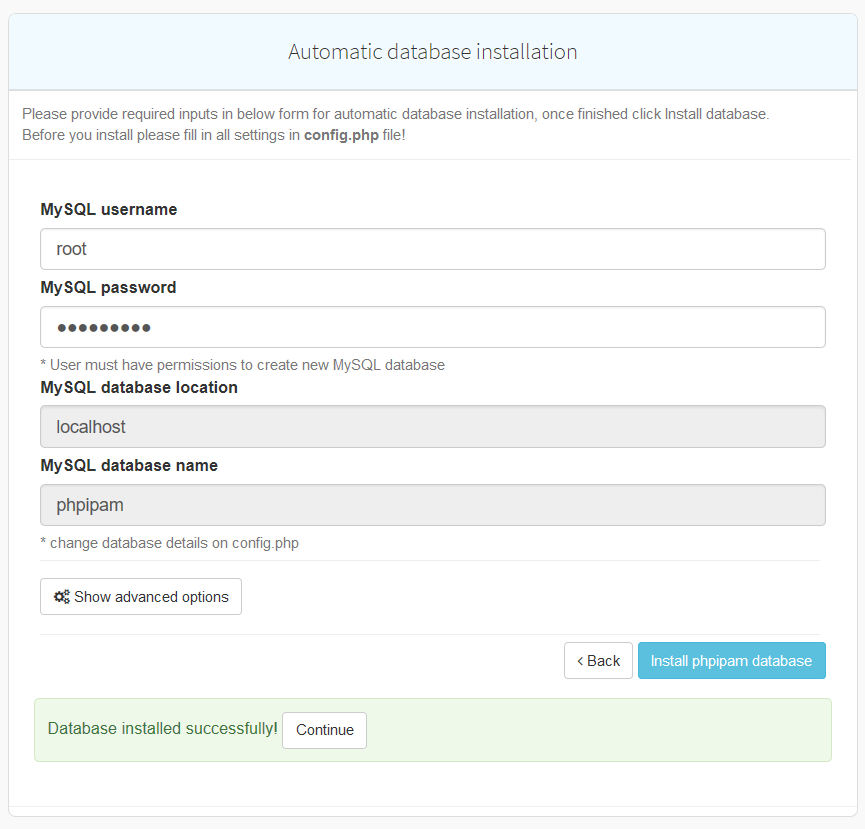
"1. Automatic database installation" を選択。
(DB操作権限があれば誰でもいいけど、ここでは)rootユーザーで "Install phpipam database"、そして"Continue"。
Webインターフェースのadminアカウントのパスワード設定をして "Save settings"、そして"Proceed to login"。

初期インストールはここまで。
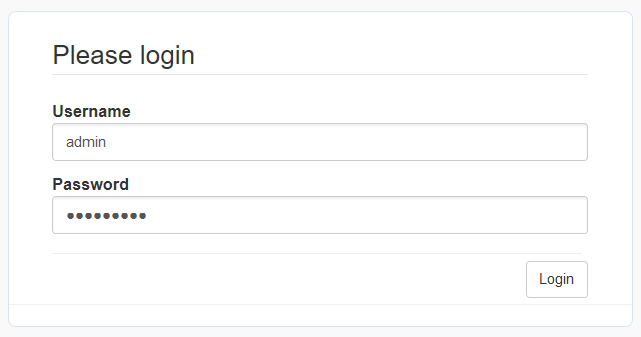
ログイン画面からサブネット作成まで
引き続き、ログイン画面。
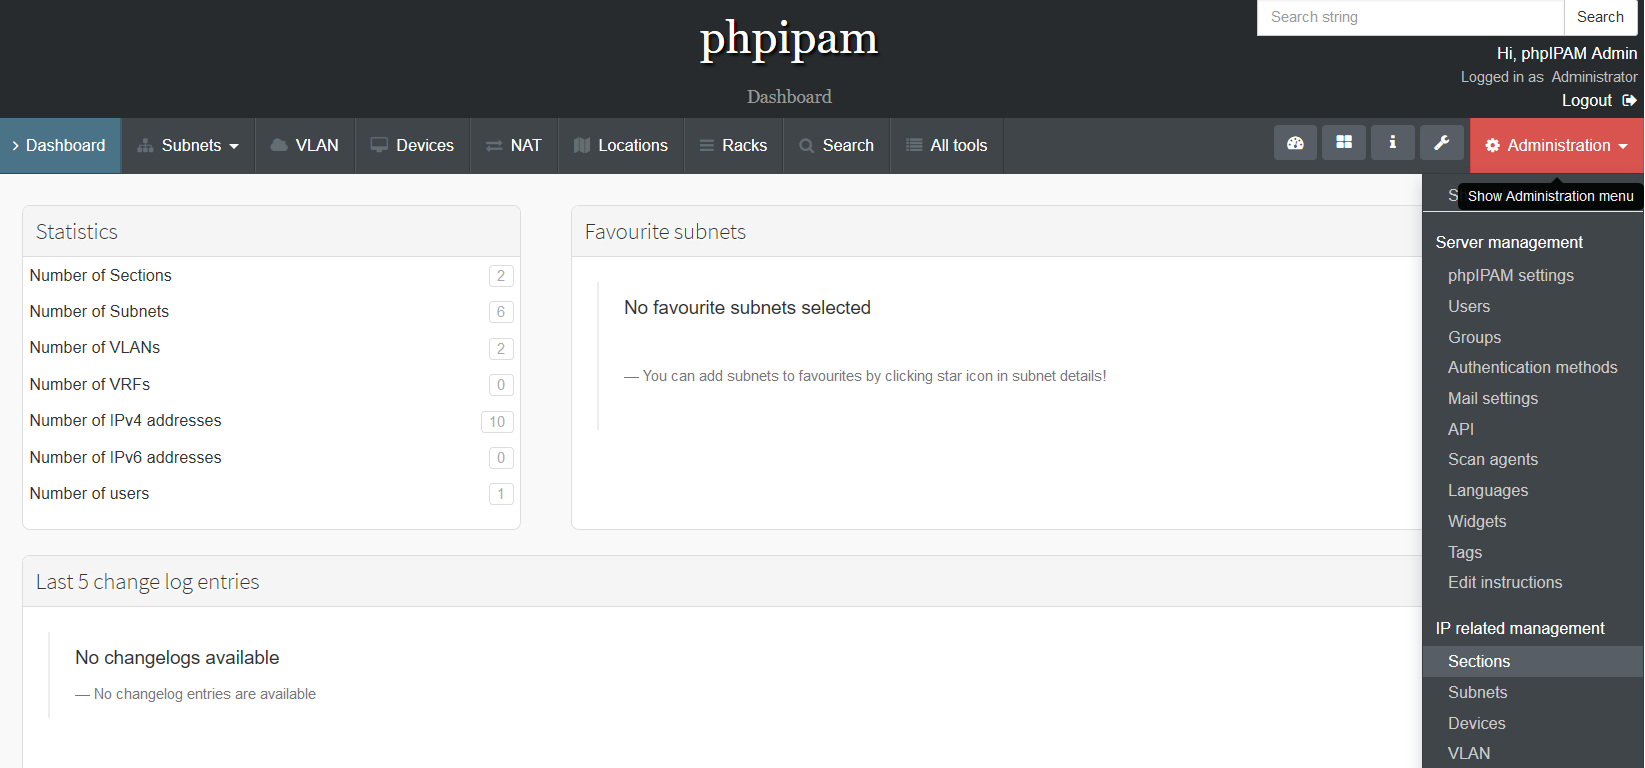
はい、ダッシュボードだよ。
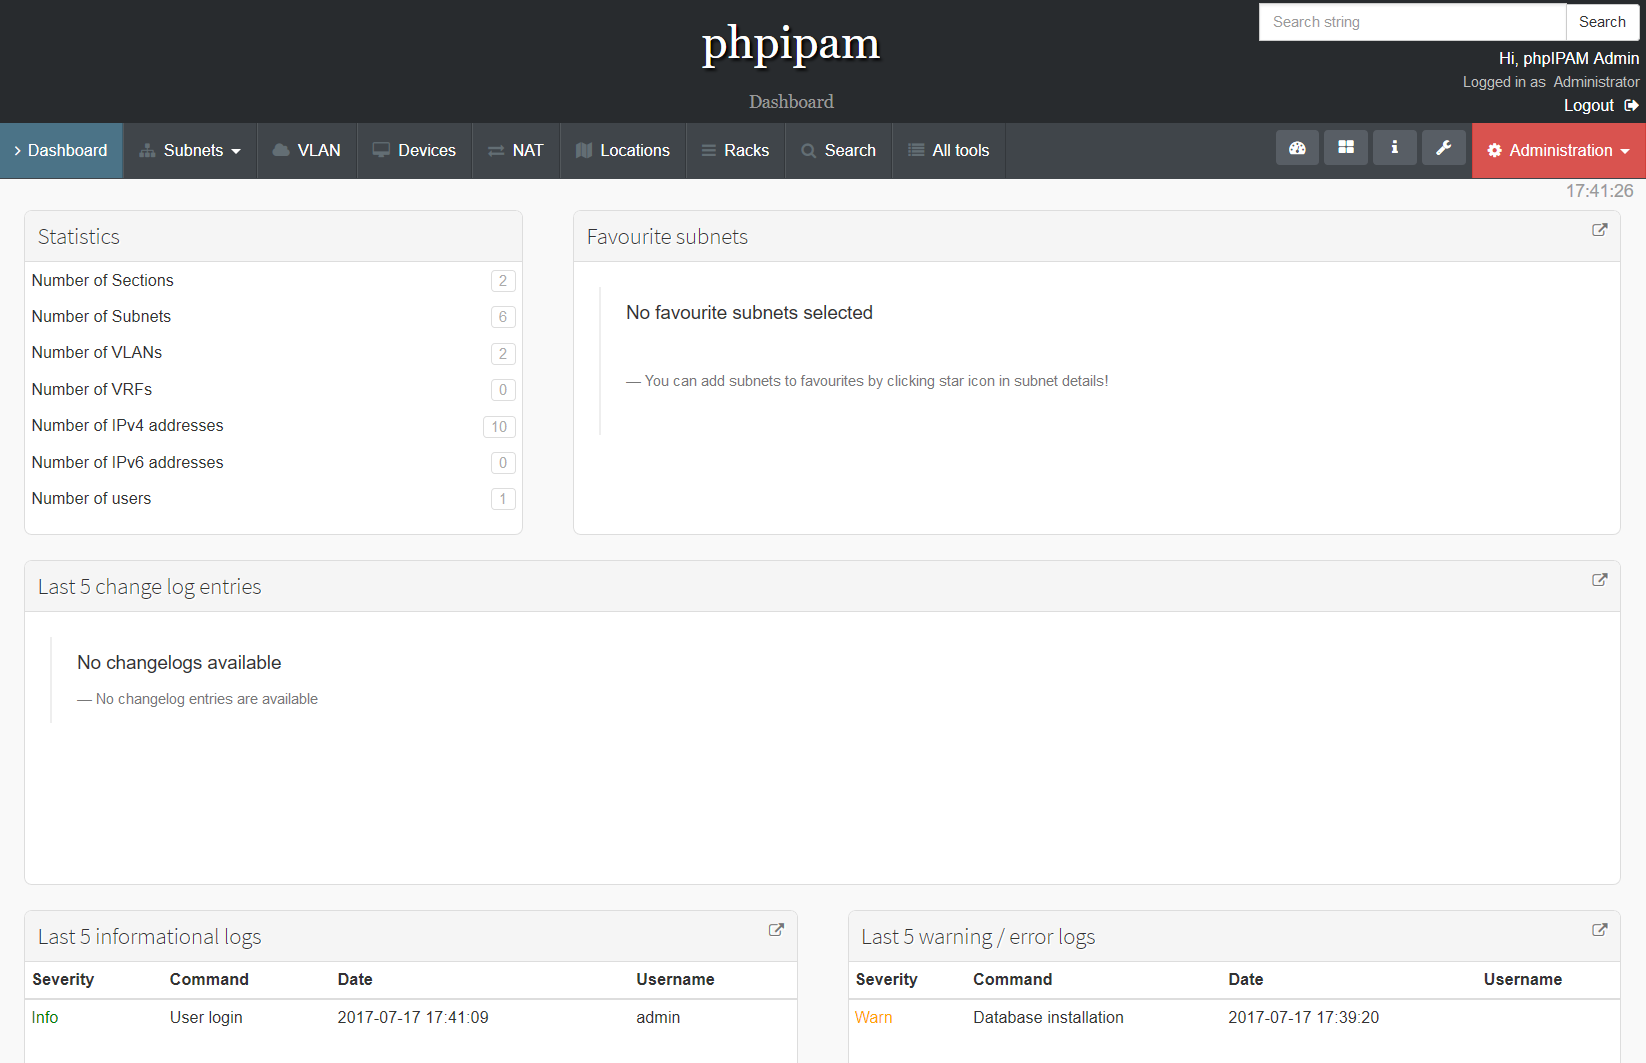
まずは、右上のAdministrationからSectionsを選択。
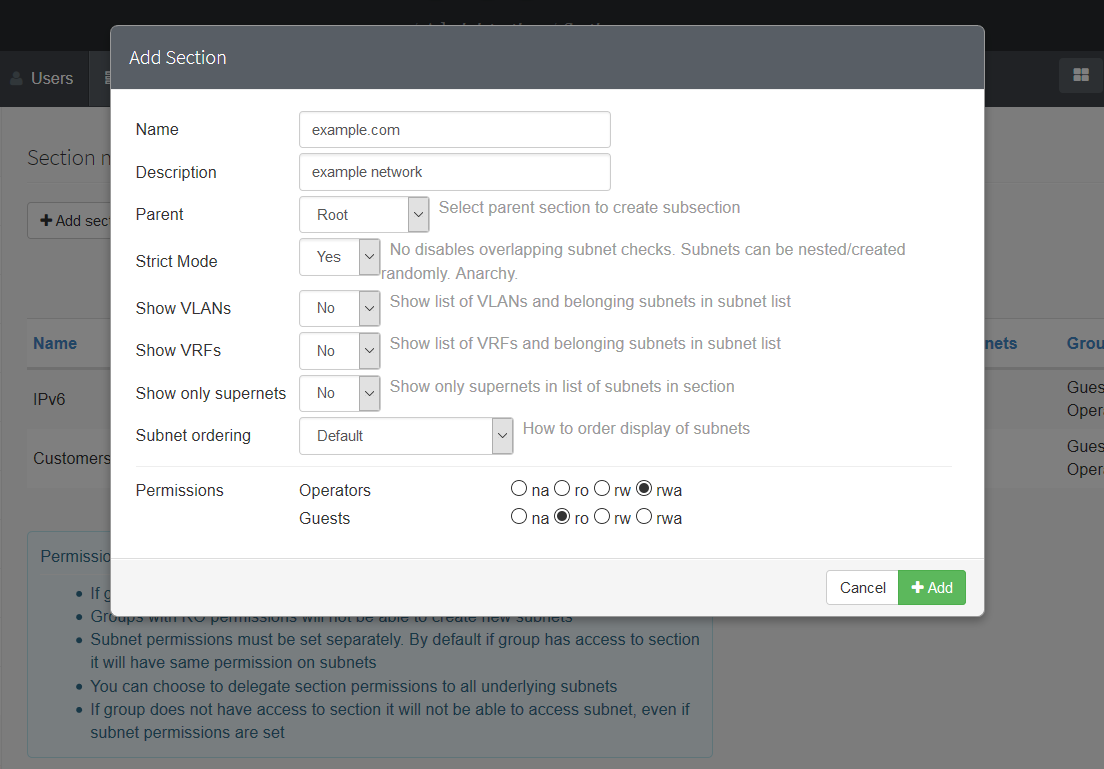
"+ Add section"からセクションを追加します。
セクションにはユーザーごとの権限を設定することができるので、編集が可能な管理者と参照だけ可能なゲスト、と言うことができます。
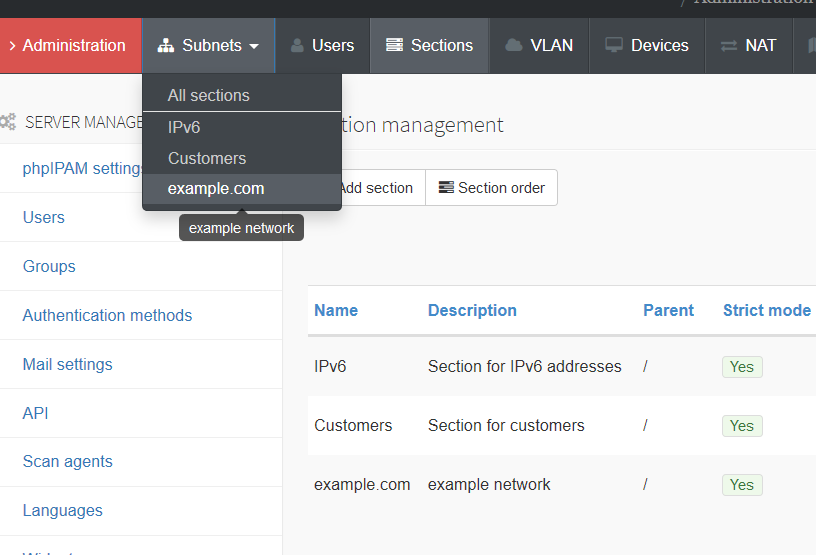
セクションを追加すると、そのセクションにサブネットを追加できるようになります。
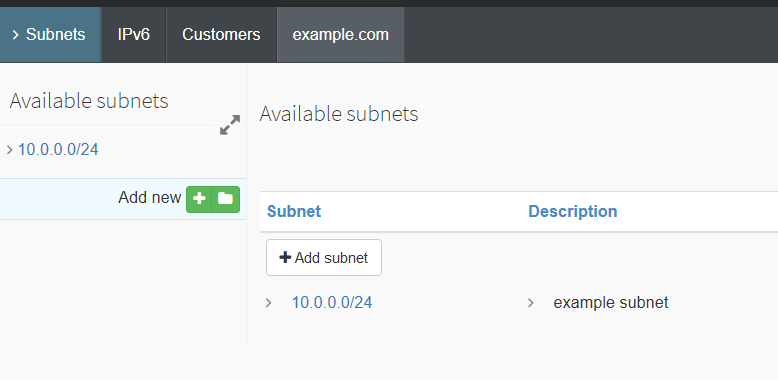
ここでは、"Subnets" -> "example.com"でexample.comセクションにサブネットを追加しに行きます。
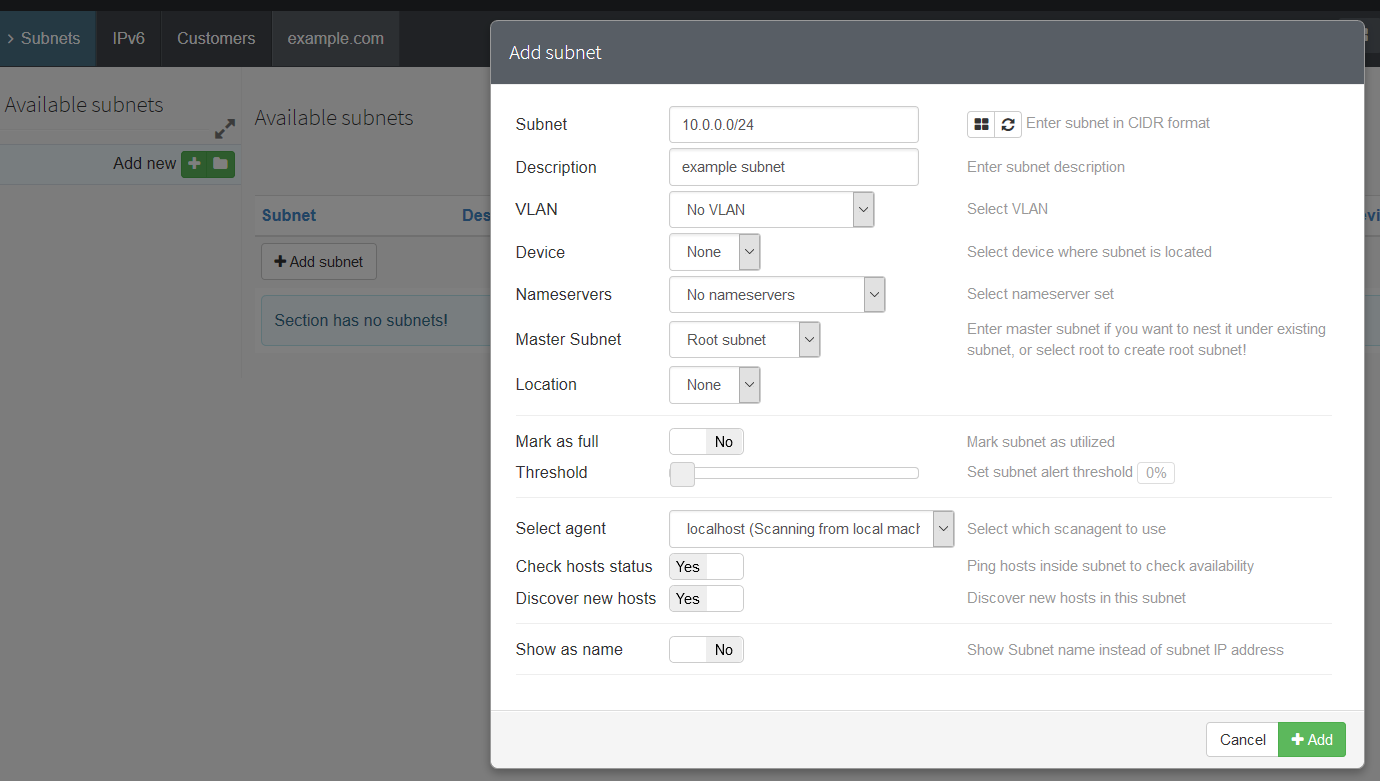
"+ Add subnet"からサブネットを追加します。
備考
"Check hosts status"と"Discover new hosts"をYesにしておくと、後で設定するホストの死活監視とオートディスカバリの対象サブネットにできるよ。
基本的にサブネットは(/24の中に/25を2つ作る場合などでは)親子関係があり、子サブネットを作ると継承されるので、変に対象を増やしたくない場合はNoでも良いです。
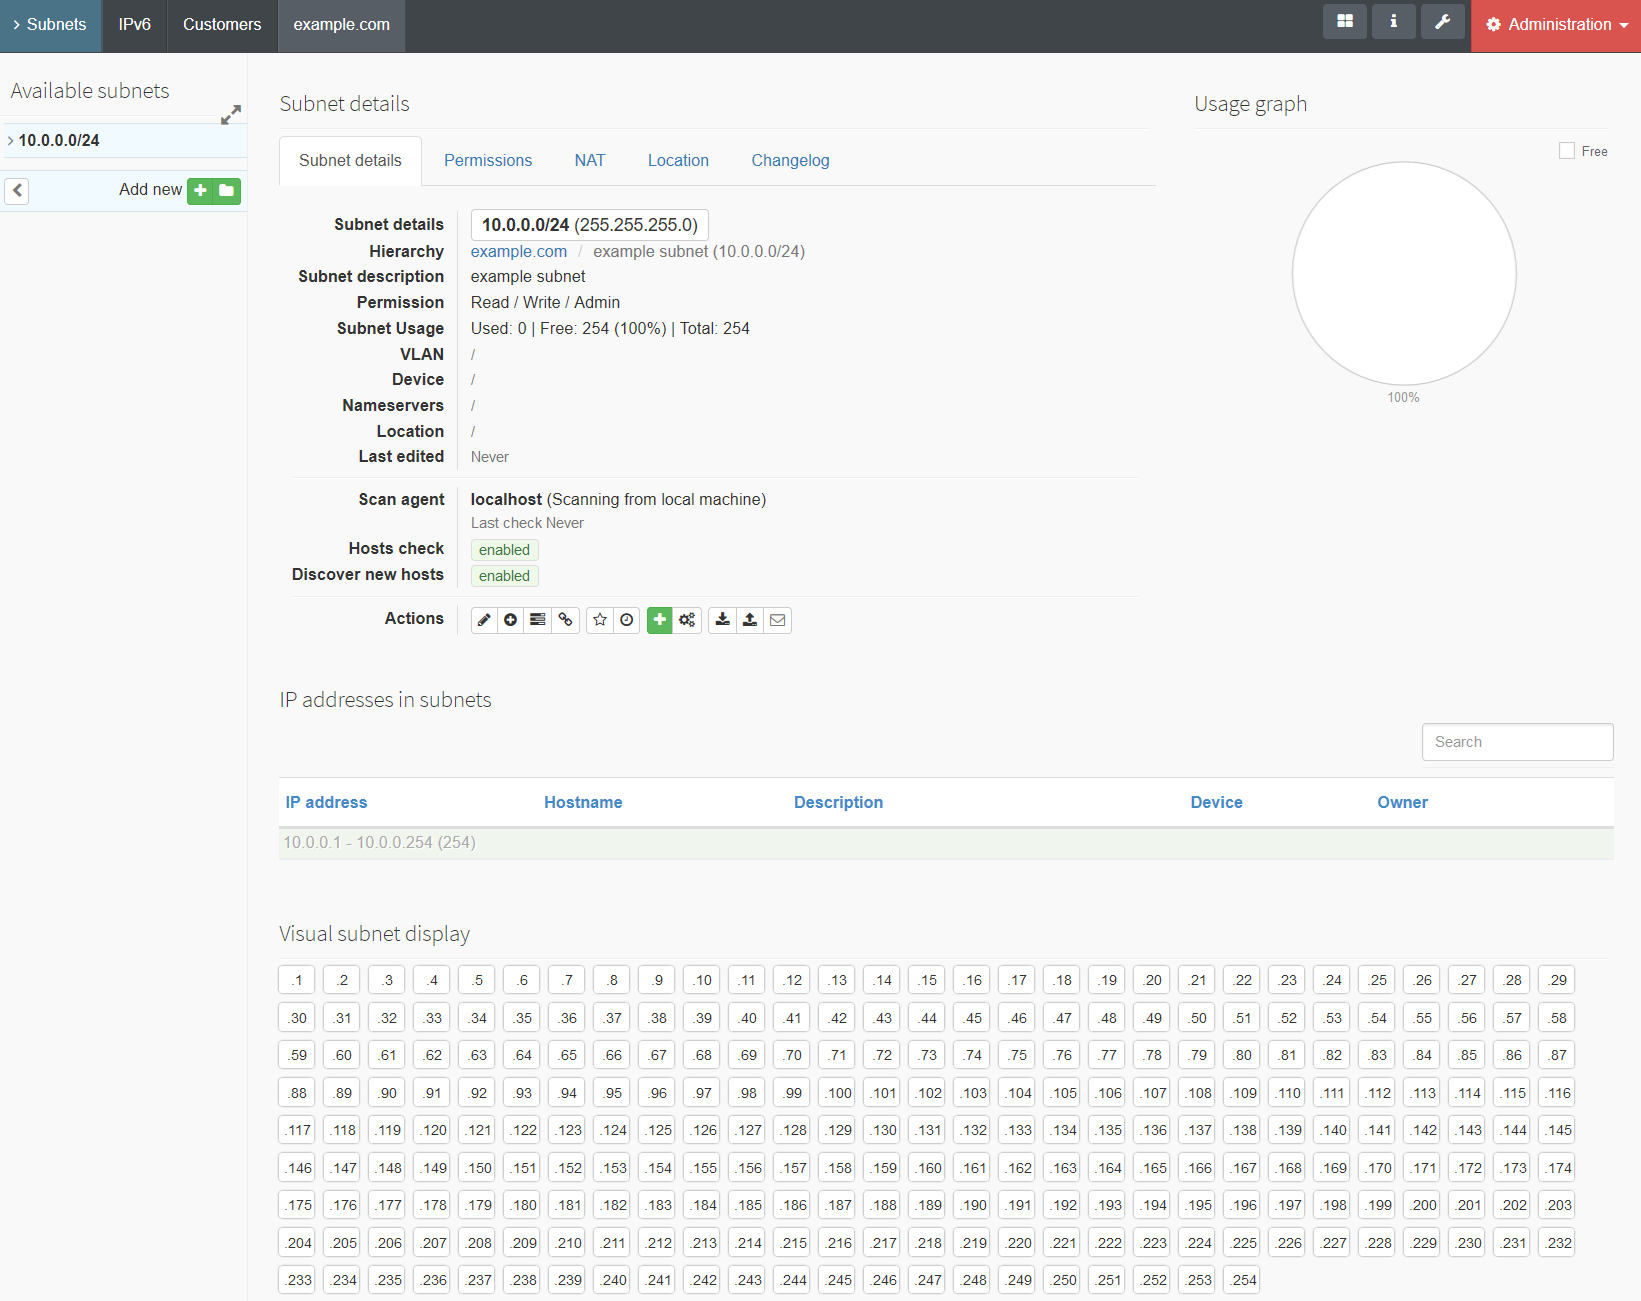
サブネットが追加されました。
サブネットの情報は、設定内容とIPアドレスのマップが表示されるようになります。
ホストの登録
IPを1つずつ登録しても良いですけど、既存のサーバーが複数ある場合はスキャン出来ると使い勝手が良いでしょう。
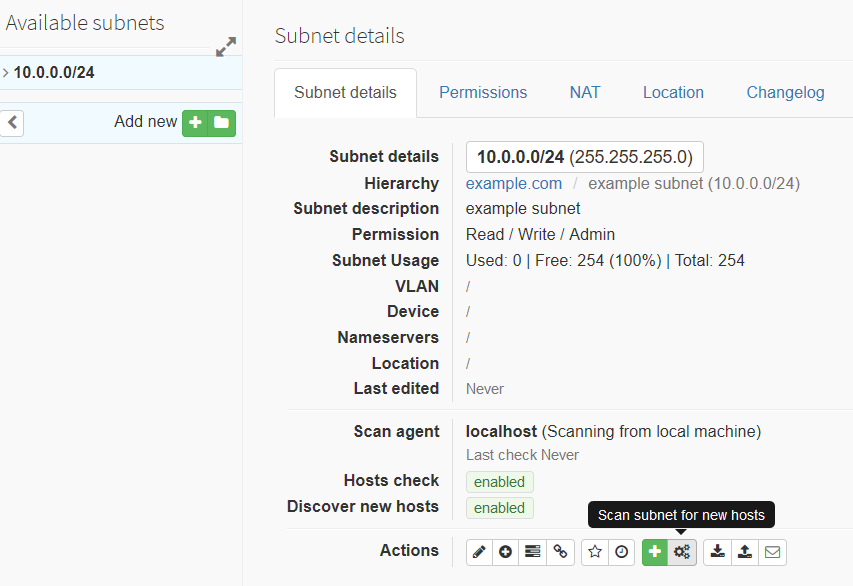
歯車アイコンから、サブネットを指定したスキャンが行えます。
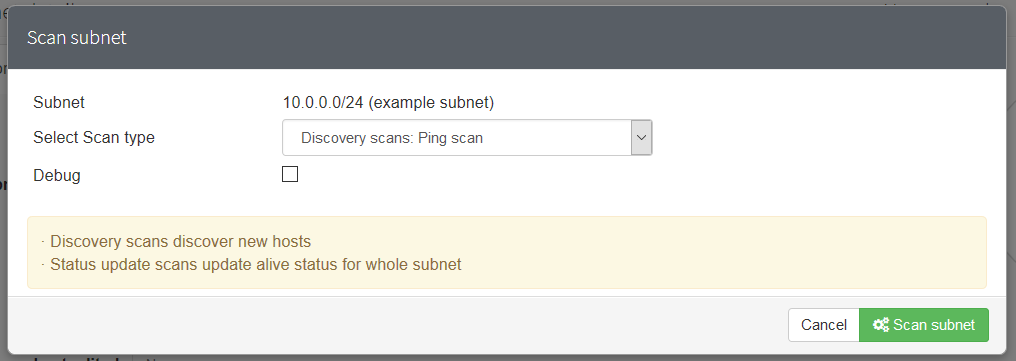
"Scan subnet"でスキャンするぞー。
(´ω`)ミツカラナイ...
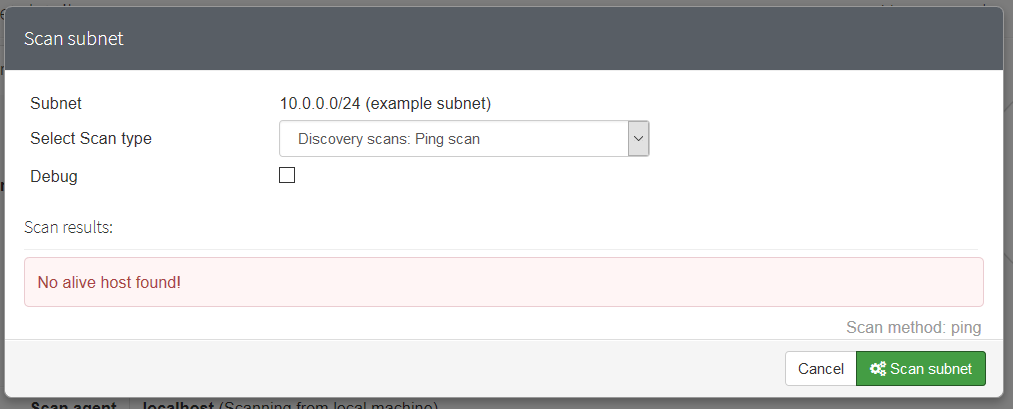
どうせhttpdからping打とうとしてSELinuxに止められてるんでしょ?
ログでも確認するか、と見てみると、こんな風にhttpd_tからpingコマンド打てないよ、って言われています:
$ sudo grep ping /var/log/audit/audit.log | tail -1
type=SYSCALL msg=audit(1500284022.107:887): arch=c000003e syscall=41 success=no exit=-13 a0=2 a1=3 a2=1 a3=7fff977c8b50 items=0 ppid=18512 pid=18588 auid=4294967295 uid=48 gid=48 euid=48 suid=48 fsuid=48 egid=48 sgid=48 fsgid=48 tty=(none) ses=4294967295 comm="ping" exe="/usr/bin/ping" subj=system_u:system_r:httpd_t:s0 key=(null)
同じような問い合わせが多いのか、公式の対応策があります: https://phpipam.net/news/selinux-policy-for-icmp-checks/
コマンドにするとこんな感じです。:
sudo yum install -y policycoreutils-python
echo 'module http_ping 1.0;

require {
    type httpd_t;
    class capability net_raw;
    class rawip_socket { getopt create setopt write read };
}

allow httpd_t self:capability net_raw;
allow httpd_t self:rawip_socket { getopt create setopt write read };' > http_ping.tt
checkmodule -M -m -o http_ping.mod http_ping.tt
semodule_package -o http_ping.pp -m http_ping.mod
sudo semodule -i http_ping.pp
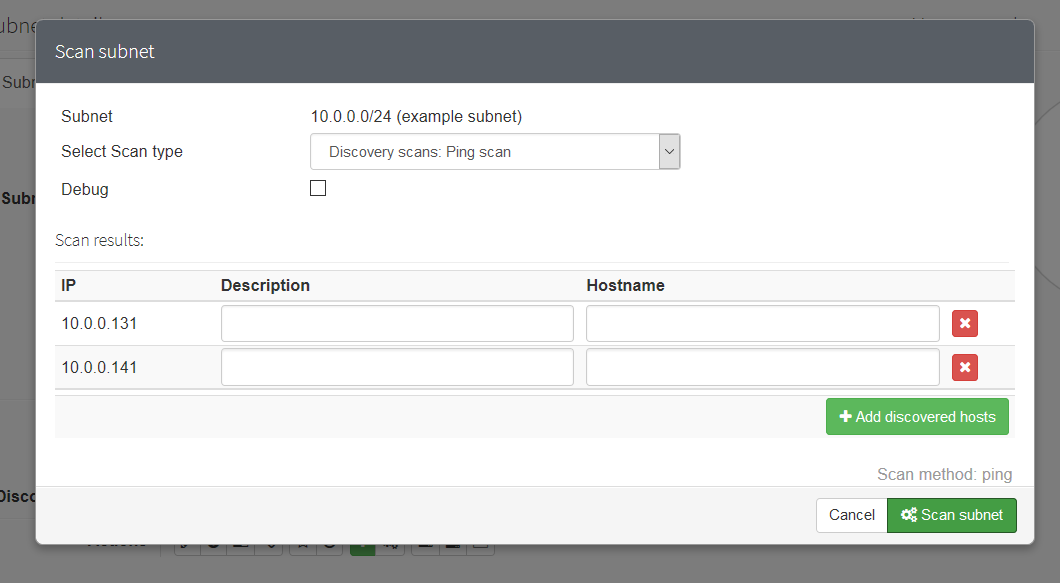
終わったら、もう一度スキャンしてみる。ほいきた。
警告
ちなみに、IPv6のスキャン機能は未実装である。
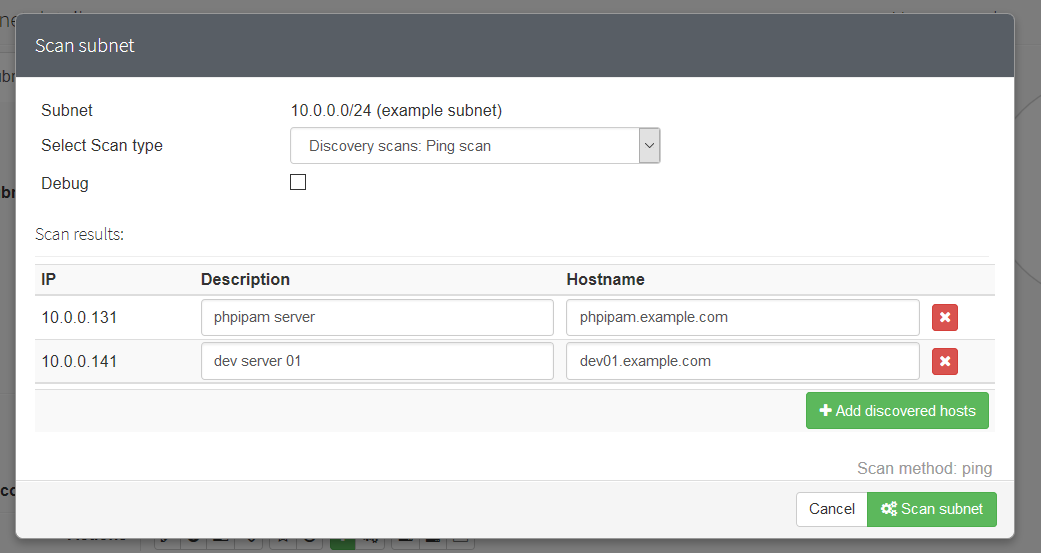
DescriptionとHostnameを埋めたら"+ Add discovered hosts"で追加しよう。
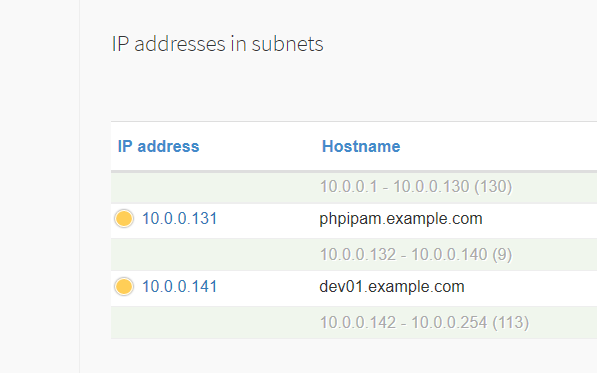
ホストの追加が終わると、こんな感じ。見やすい!(個人の感想です)
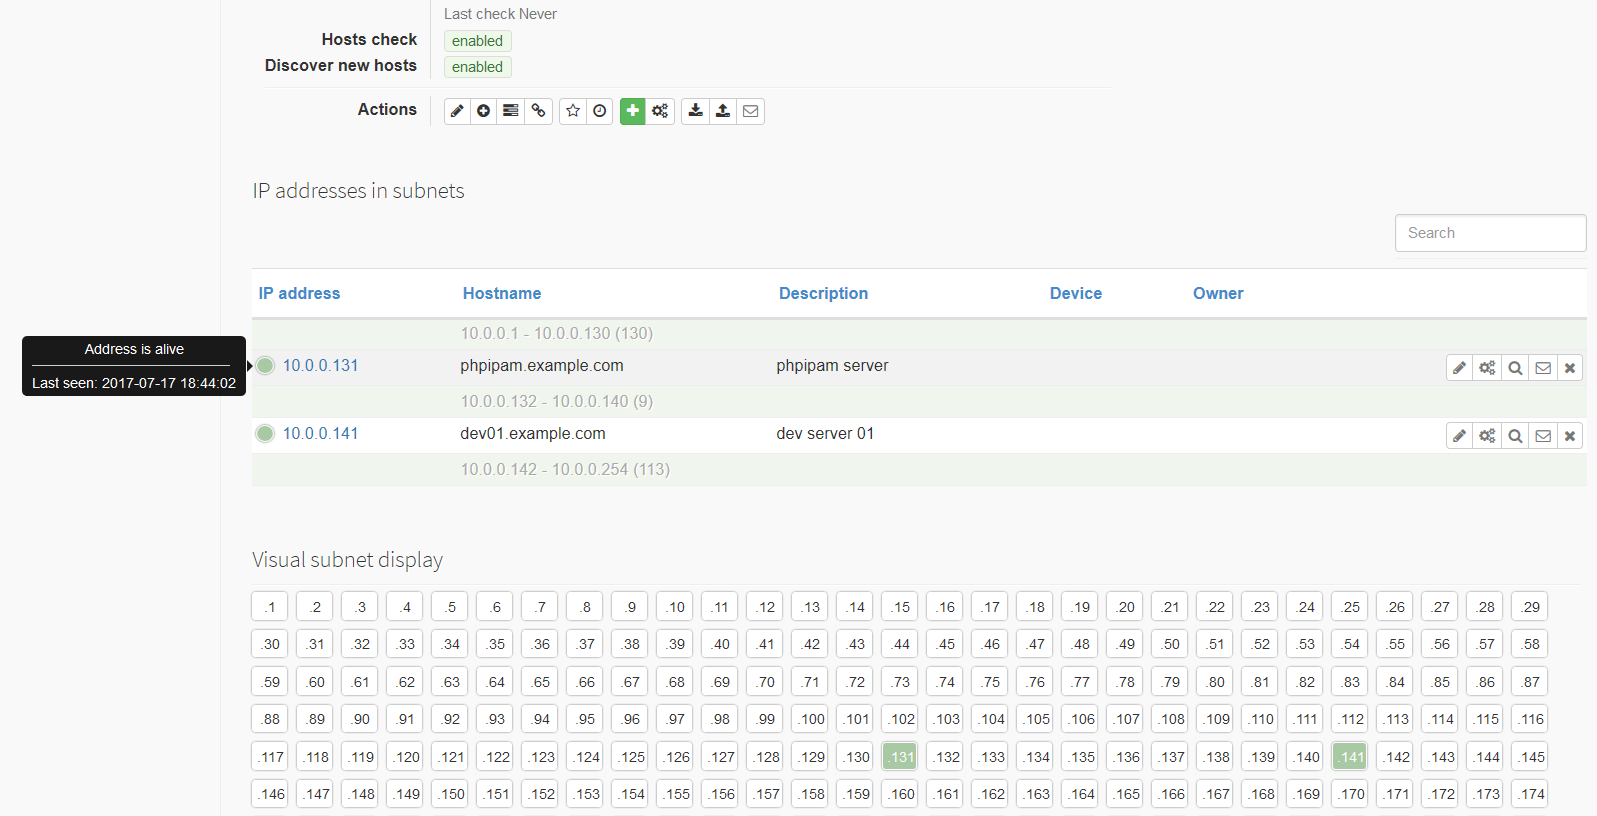
これでアドレス、ホスト名の一覧を一覧性良く管理することができるようになりました。
ちなみに、この情報はExcelとして出力することができます。
この辺のボタンから、
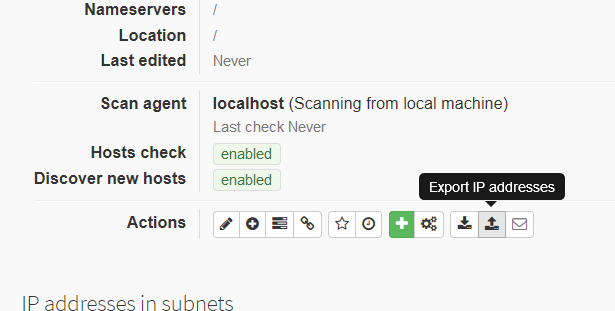
出力内容を選択してExport、
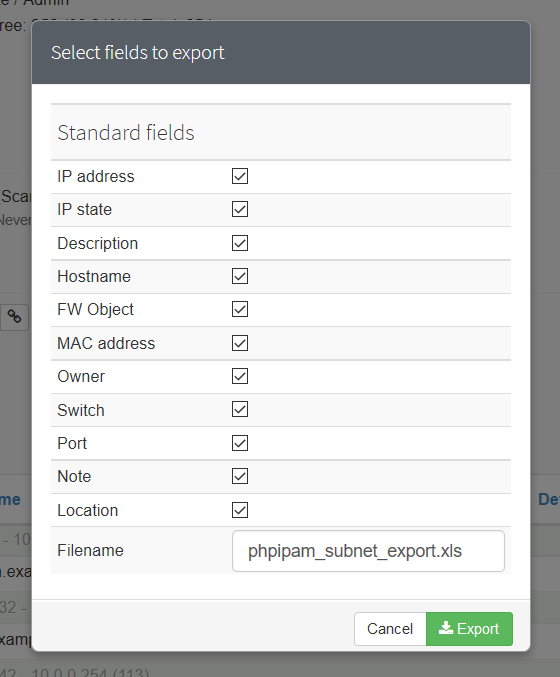
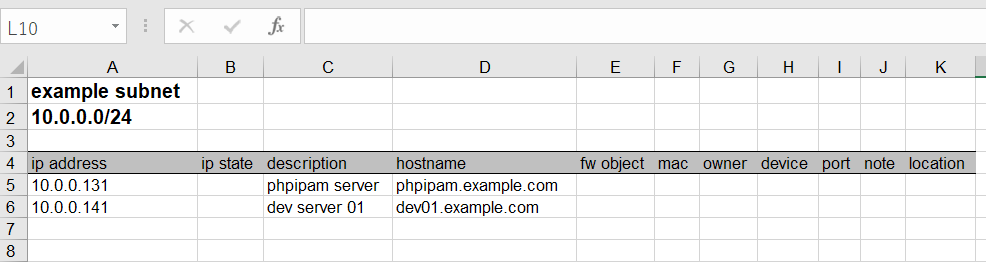
こんな感じです。
死活監視とオートディスカバリー
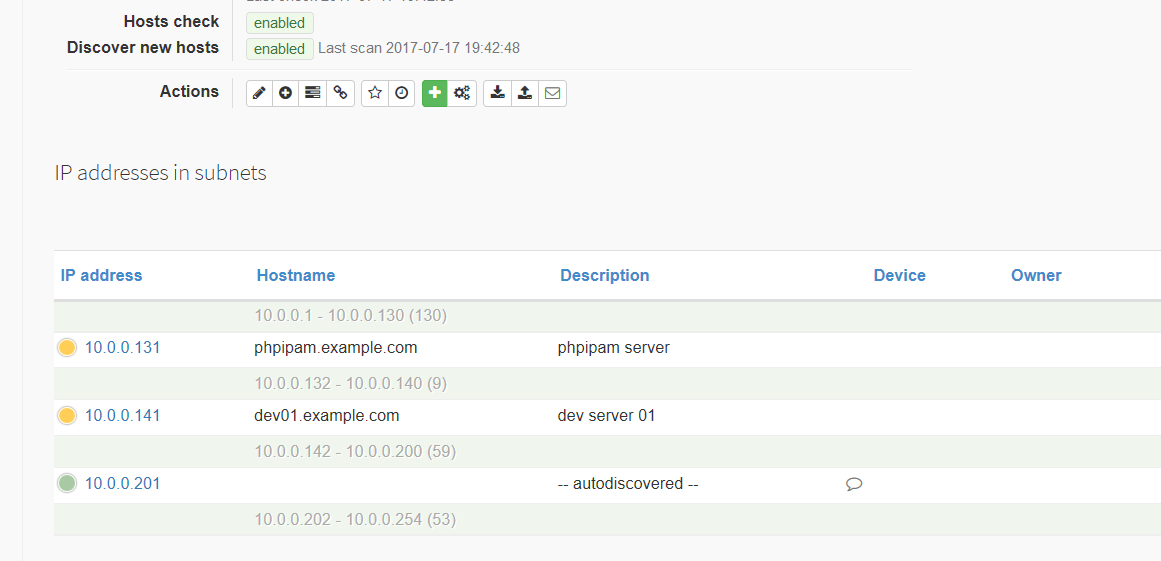
登録したホストは、最初は"Address is alive"として緑色のアイコンなのだけど、時間がたつと黄色、赤に遷移してしまいます。
これは、単に死活監視、オートディスカバリーのためのスクリプトがデフォルトでは動いていないからです。
ホストの死活監視は自動的に行われるわけではないので、Scan agentにlocalhostを選んでいる場合は以下のようにcronの設定を追加する。
https://phpipam.net/news/automatic-host-availability-check/
sudo vi /etc/cron.d/phpipam でcronの設定を追加しておきます。:
*/15 *  *  *  * apache /bin/php /var/www/html/phpipam/functions/scripts/pingCheck.php
*/15 *  *  *  * apache /bin/php /var/www/html/phpipam/functions/scripts/discoveryCheck.php
これで、裏で登録したホストの死活監視と、対象サブネットのオートディスカバリーが動作するようになります。
オートディスカバリーでホストが見つかると、下図のように"-- autodiscovered --"として登録されます。
おしまい
まずはごく基本的なサブネットとホスト登録までを確認しました。
理想的にはDNS、DHCPサーバーと連携できると良いですよね。
phpIPAMはPowerDNS(のDBに直接差し込む形で)連携が出来るので、あとで時間があればそちらも見ていきましょう。
今日はここまでじゃよ。